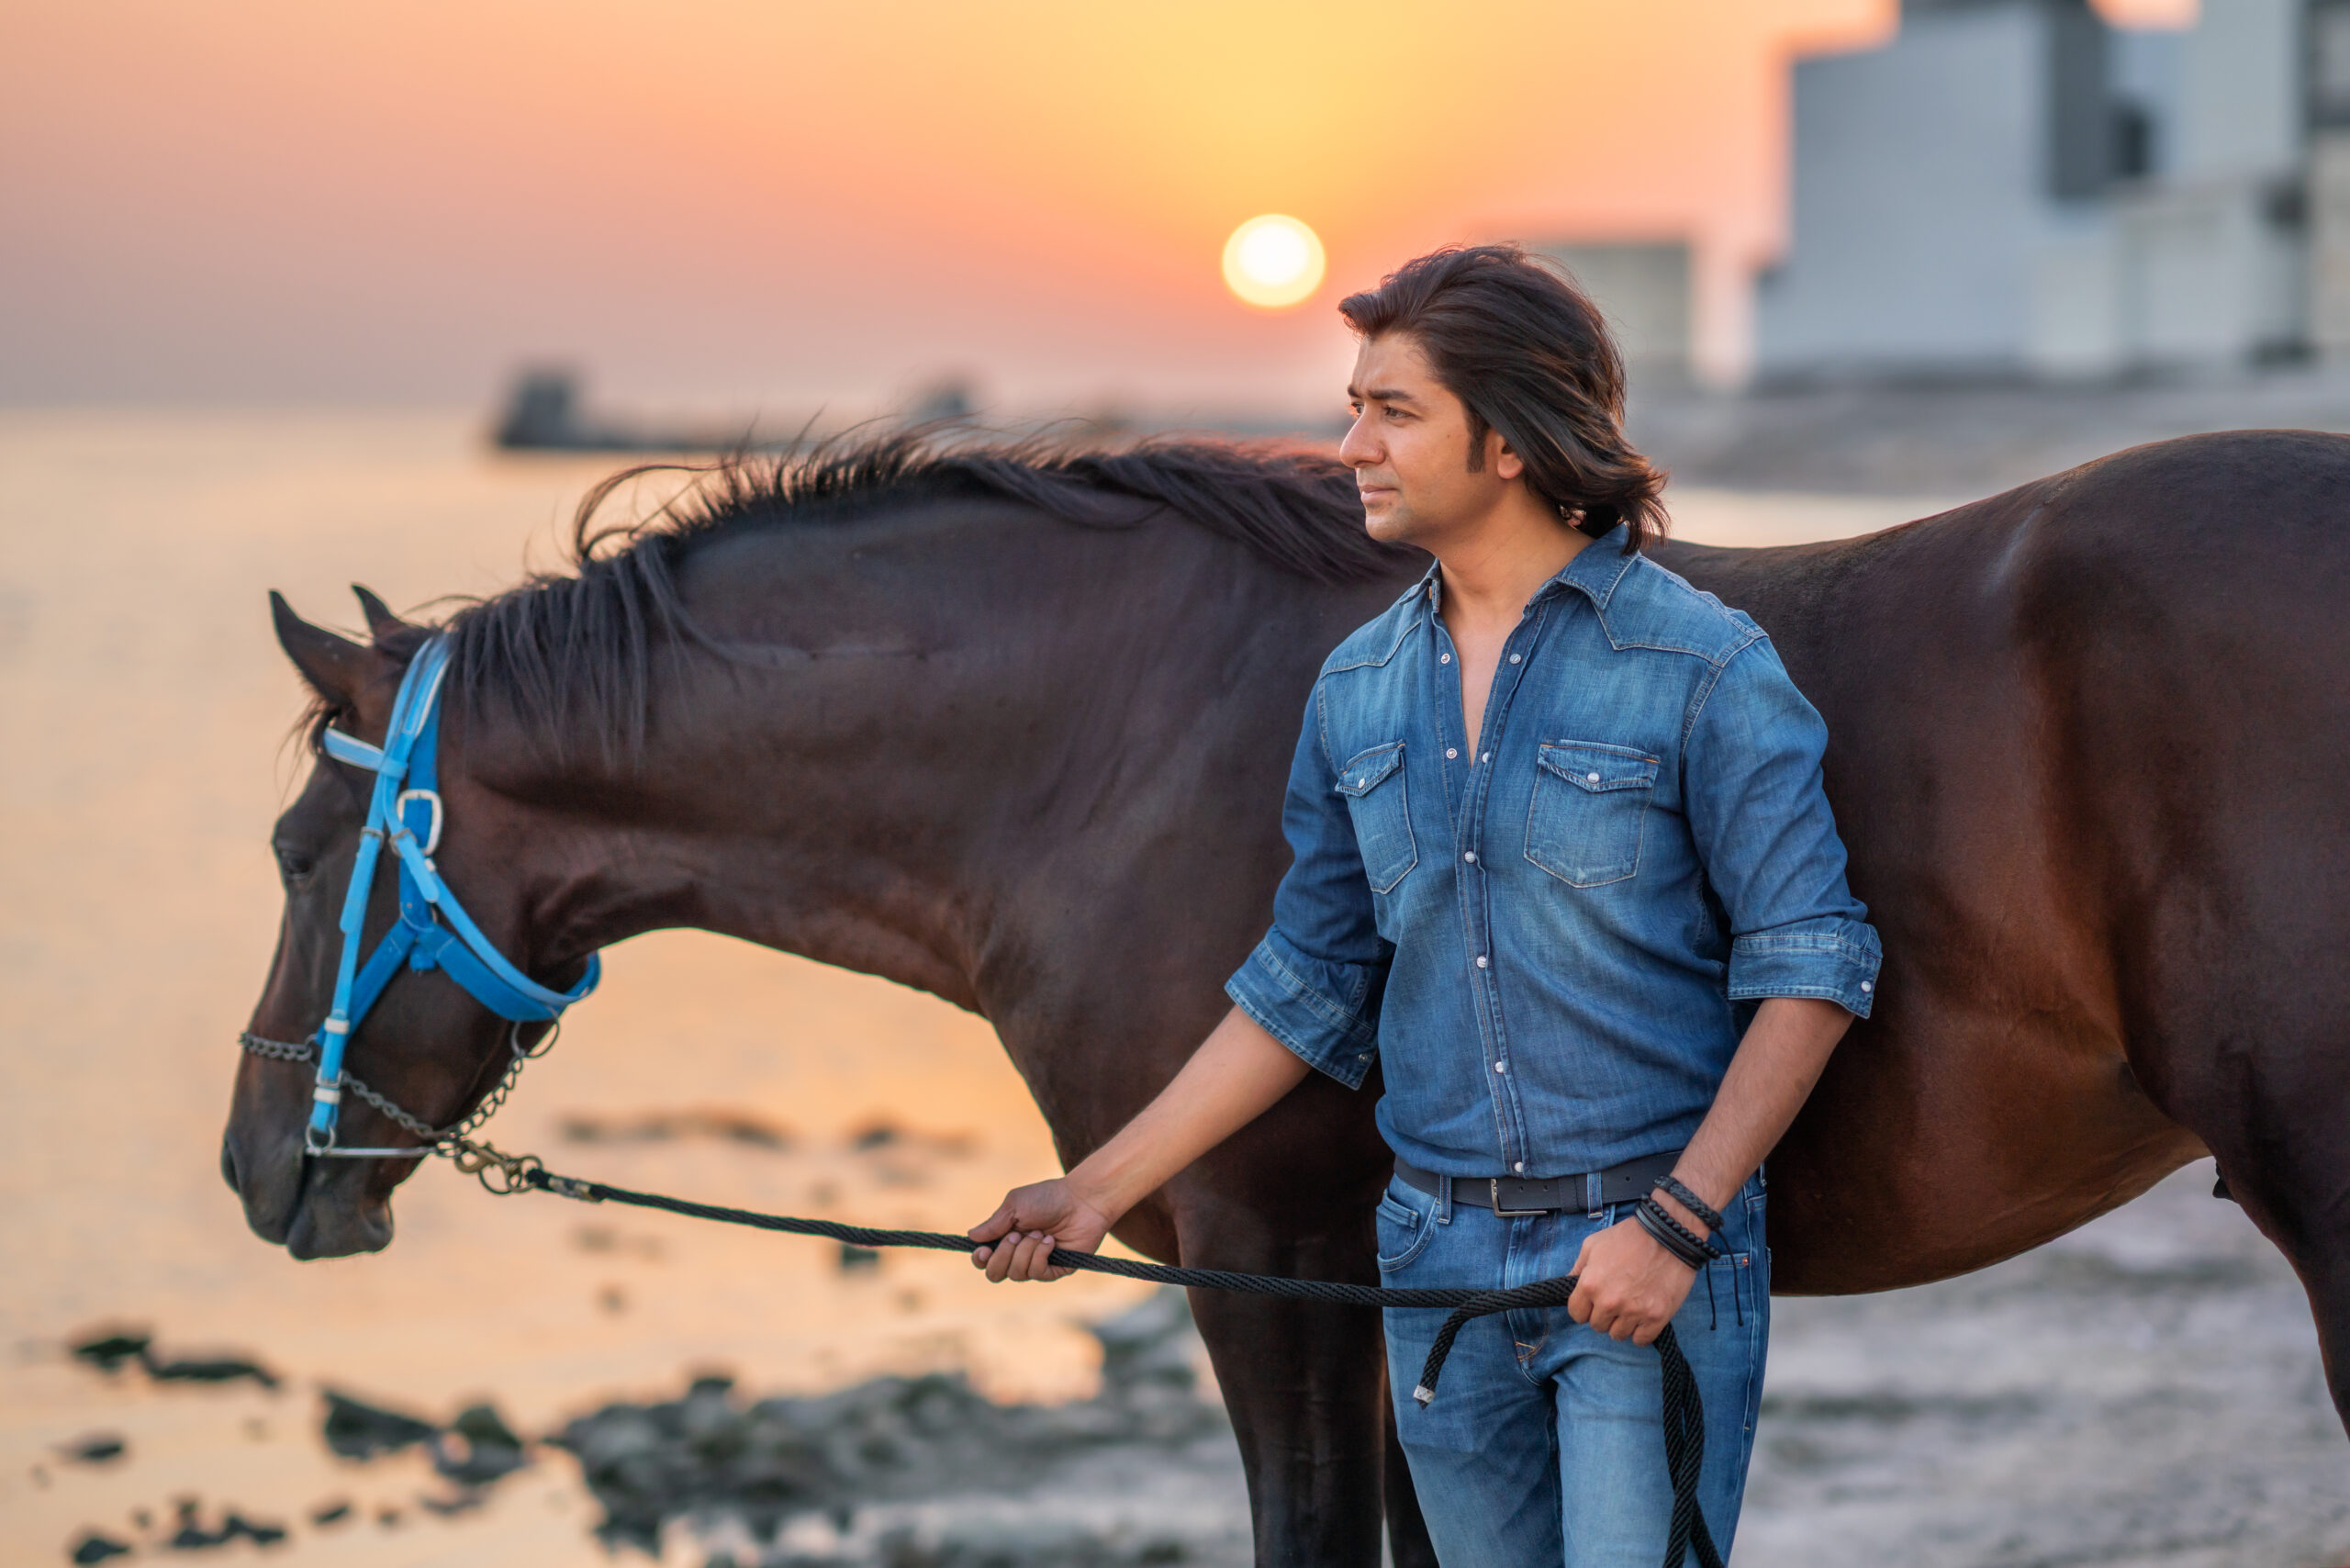
Capturing the majestic presence of a horse is one of the great joys of photography. While natural light often provides a stunning backdrop, studio lighting can elevate an equine portrait to a true work of art. The dramatic contrasts, rich details, and controlled environment create a look that is both timeless and powerful. However, bringing powerful lights into a horse’s space presents a unique set of challenges. It requires patience, expertise, and a deep understanding of equine behavior to ensure the session is a success for everyone involved.
This post will guide you through the process of photographing horses with studio lights. We’ll explore why desensitization is crucial, how a professional photographer manages the process, and what you, as a horse owner, can do to prepare your animal for their moment in the spotlight.
Understanding the Challenge: Horses and Flashing Lights
Horses are prey animals, hardwired with a strong flight instinct. New, sudden, or strange stimuli—like the bright flash and soft sound of a studio strobe—can easily trigger their natural wariness. Their initial reactions can range from a curious glance to a significant spook. This is a normal and expected part of the process.
The goal of a studio-lit photoshoot is not to force a horse to tolerate something frightening. Instead, it is to thoughtfully introduce them to the equipment and show them there is nothing to fear. A successful session hinges on building trust and making the experience a positive one. With a careful approach, most horses, even those with a spooky reputation, can learn to relax and even ignore the lights completely.
The Photographer's Role: A Process of Patience and Trust
A skilled equine photographer never rushes into a studio-lit session. The horse’s comfort and safety are always the top priorities. The process typically involves a careful desensitization period at the beginning of the shoot.
Step 1: A Safe Starting Point
We always begin in a secure and familiar environment for the horse, like their own barn aisle or an indoor arena. The handler will be present, providing a sense of security. The first step is to introduce the light from a distance. We might fire the strobe away from the horse, allowing them to first hear the quiet recycling sound and see the flash indirectly.
Step 2: Reading the Horse’s Reaction
The horse’s initial reaction tells us everything we need to know about how to proceed. A calm, curious horse might only need a few minutes before we can move the lights closer and begin shooting. A more sensitive horse may need more time. This is where patience is key.
If a horse shows signs of anxiety, we slow down. This might involve:
- Gradual Introduction: Slowly bringing the light closer while offering reassurance.
- Positive Reinforcement: Using praise and treats to create a positive association with the flash.
- Distraction: Asking the horse to walk or perform a simple, familiar task can help take their mind off the new equipment.
This desensitization process can take anywhere from a few minutes to fifteen minutes or more. It’s an essential investment of time that pays off with beautiful, relaxed portraits. On very rare occasions, a horse may remain too stressed. In these situations, a professional will always prioritize the animal’s well-being and suggest switching to a natural light session instead. The horse’s experience is more important than any single photograph.
How You Can Prepare Your Horse for a Studio Photoshoot
If you are considering booking a studio-lit session for your horse, there are simple things you can do to help prepare them. This can make the photoshoot go even more smoothly and maximize the time we have for capturing stunning images. The key is to introduce the concept of a camera flash in a low-pressure way.
Use Your Phone or Camera Flash
Nearly everyone has a camera with a built-in flash. You can use this to gently introduce your horse to the idea of a sudden burst of light.
-
1. Start in a Safe, Familiar Place:
Begin in an open, well-lit area where your horse feels comfortable. For safety, have a helper hold your horse, especially if you know they tend to be reactive.
-
2. Begin in Daylight:
Take a few photos of your horse using the flash during the day. The effect of the flash will be less dramatic in bright, ambient light, making it a gentle first step.
-
3. Stay Calm and Positive:
Your horse will take cues from you. If you are relaxed and confident, they are more likely to be as well. Talk to them soothingly and offer a scratch or a small treat after a few flashes. Most horses flinch at first but settle quickly when they realize there is no threat.
-
4. Move to a Darker Area:
Once your horse is comfortable, try moving into a shadier area, like the entrance to a barn or an indoor arena. Here, the contrast between the flash and the surrounding light will be greater, more closely mimicking a studio setup.
This simple preparation can work wonders. By showing your horse that a flash is just a harmless part of interacting with you, you build a foundation of trust that will carry over into the professional photoshoot.
A Rewarding Experience for All
Photographing a horse with studio lighting is a delicate dance of art and animal psychology. It demands respect for the horse’s nature and a commitment to their comfort. While it may seem daunting, the process is usually a calm and rewarding one. The resulting portraits, which highlight every muscle and capture the soul in their eyes, are a testament to the trust built between horse, owner, and photographer.
With a little preparation and a lot of patience, almost any horse can become a perfect model under the studio lights, creating timeless images you will treasure forever.


